How to Edit Your Own Writing Properly in 7 Simple Steps (Plus Checklist): A Guide for Beginners

Editing your own writing is tricky.
This is because it’s hard to see your mistakes or areas to improve when you’re already familiar with the content.
So, you can easily overlook issues like:
- Unclear sentences
- Jargon
- Or missing information.
But don’t be nervous.
This step-by-step guide will show you how to edit your own writing properly.
How to edit an article in 7 simple steps
Here are 7 steps to help you edit your writing and produce polished content.
- Step #1. Start with the big picture.
- Step #2. Focus on clarity and conciseness.
- Step #3. Refine the sentences and paragraphs.
- Step #4. Pay attention to grammar and style.
- Step #5. Improve readability.
- Step #6. Proofread thoroughly.
- Step #7. Get feedback (if possible).
Before getting into these steps, note that I’ve given detailed examples (and explanations) in some of them to guide your understanding.
Step #1. Start with the big picture.
I. Read the draft for understanding.
Before focusing on grammar or punctuation, read through your draft to ensure your content makes sense.
As you do, ask yourself:
- Is the message clear?
- Does the content flow logically?
Note where your answers are negative, so you can fix the issues later.
II. Check the content structure.
Content structure typically includes three main parts: the introduction, the body, and the conclusion.
Make sure your introduction, body, and conclusion are well-structured.
Each of them should serve its purpose.
Here’s a sample content structure using a hypothetical article — “Mastering Speed Reading: Techniques to Read Faster and Retain More.”
Let’s break it down.
The introduction
“The introduction should hook the reader and introduce the topic.”
The introduction should hook the reader and introduce the topic.
Example:

This introduction is engaging for 2 reasons:
1. It addresses a common desire to read faster — learning how to speed read.

This question hooks readers who want to improve their reading speed while still understanding what they’re reading.
Secondly, the introduction is engaging because:
2. It introduces the main topic clearly — effective speed reading techniques.

This sentence clearly states the focus of the article and sets expectations for what the reader will learn.
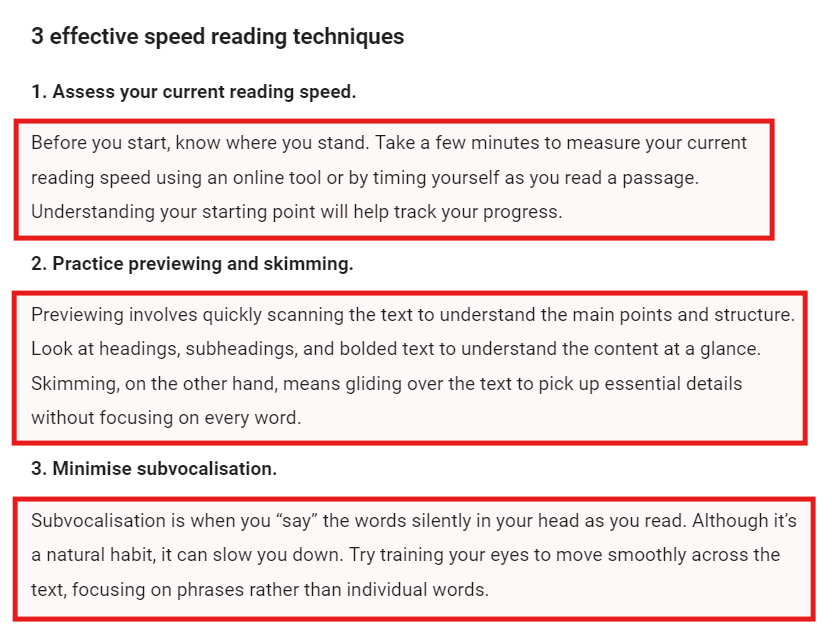
The body
The body should break down the main points and explain them clearly.
Look at this example below:

I’ve broken down the body into actionable points.

I also explained each step clearly to help the reader learn and apply each technique logically.
The question is: have you structured the body of your content this way?
The conclusion
The conclusion should summarise the key takeaways and include a CTA (call to action).
Example:

This conclusion works for 2 reasons:
1. It summarises the key points — assessing your current speed, previewing and skimming, and reducing subvocalisation.

Secondly, the conclusion works because:
2. It encourages the reader to take action — to practice the strategies daily to see results.

This content structure guides the reader through
- A clear beginning (introduction)
- An informative middle (body)
- And a concise wrap-up (conclusion).
III. Delete irrelevant content (fluff).
Remove anything that doesn’t relate to the main idea or just takes up space.
Let’s look at the paragraph on healthy eating habits below and identify the fluff:
Original paragraph:

Below is the fluff:

The sentence “I used to eat a lot of junk food, but I realised it was making me feel sluggish, so I switched to healthier options” is irrelevant.
Here’s why:
- It distracts from the main point about balanced diets
- And shifts focus to the writer’s personal experience.
Now, below is the revised paragraph:

By removing the fluff, the paragraph becomes focused.
Step #2. Focus on clarity and conciseness.
I. Avoid redundancies.
Look for repeated phrases or sentences and express them in fewer words.
Here’s an example of avoiding redundancies in a sentence:
- Original: “In my personal opinion, I believe that this is a great opportunity that should not be missed.”
- Revised: “I believe this is a great opportunity.” or “This is a great opportunity.”
Explanation:
- “In my personal opinion” is unnecessary because “I believe” already shows a personal viewpoint.
- Even without using “In my personal opinion” or “I believe,” the writer already implies their viewpoint.
- “Should not be missed” is unnecessary because “great opportunity” means something valuable.
The edited version passes the same idea more concisely, making the message clearer and more direct.
II. Simplify the language.
Using complex language isn’t bad as long as your audience easily understands your message.
Use simple, straightforward words instead of jargon.
For example, replace “utilize” with “use.”
Here’s a more detailed example to show how simplifying your language makes the draft clearer and more engaging:
Original (using complex language):

Okay. This may be an extreme example, but some people write like that.
This tweet, for example:

What does that even mean?
Look: Using complex language isn’t bad as long as your audience easily understands your message.
But I digress.
Now, back to the subject:
Here’s the revised version of the complex paragraph in simple language:

Meanwhile, this revised version can still be better:

In this version, the language is straightforward and easier to understand.
III. Use active voice.
Use active voice over passive voice to make your writing more engaging.
Here’s an example to show active vs. passive voice:
- Passive voice: “The marketing report was completed by the team yesterday.”
- Active voice: “The team completed the marketing report yesterday.”
Explanation:
In the passive version, the subject (“the team”) receives the action. This weakens the sentence.
In the active version, the subject performs the action. This makes the sentence shorter, clearer, and more direct.
Step #3. Revise the sentences and paragraphs.
I. Check for smooth transitions.
Check if each sentence and paragraph flows into the next.
Use transitional phrases like “However,” “On the other hand,” or “Additionally” to guide your readers.
Here’s an example to show smooth paragraph transitions:
Original paragraphs:

Revised paragraphs (with smooth transition):

Explanation:
The sentences in the original paragraphs lacked smooth connections, so they felt rough.
In the revised paragraphs, the transitional phrases (“By creating high-quality content,” “As a result,” “However,” “Because of that,” and “ultimately”) guide the reader through the ideas more naturally.
These additions show how each sentence relates to the next and make the flow of information clearer and easier to follow.
II. Vary sentence length.
“Mix short, simple sentences with longer, detailed ones.”
Avoid monotonous sentence structures.
Mix short, simple sentences with longer, detailed ones.
Example:
Monotonous sentence structure:

Varied sentence structure:

Doesn’t that sound like music?
The revised version has a more engaging and dynamic flow.
To help you pay attention to this, here’s an interesting quote by Gary Provost:

This quote shows what happens when you use sentences of different lengths: you make music.
So, let it guide the rhythm of your sentences.
And what’s more?
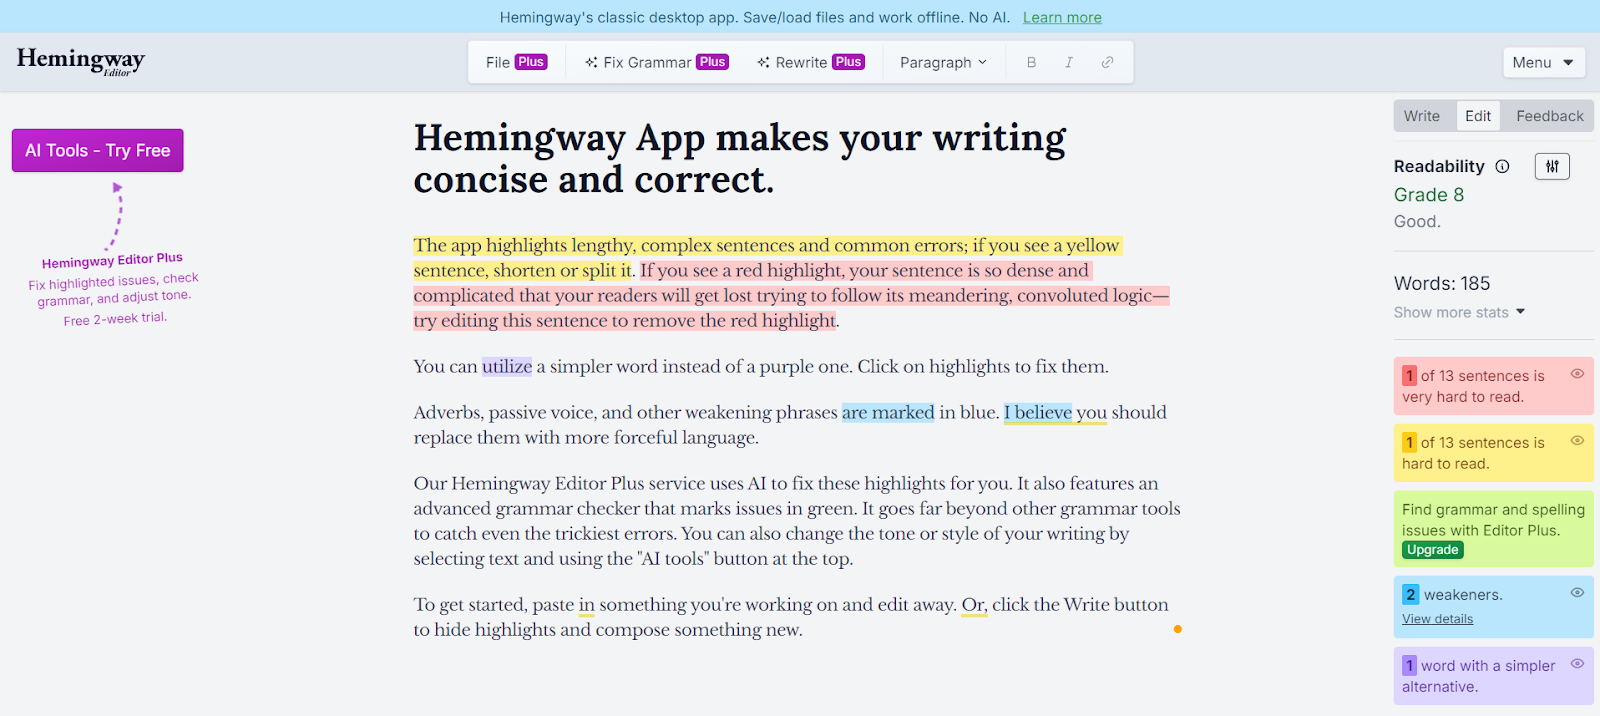
Use the Hemingway Editor to refine lengthy, complex sentences.
III. Cut unnecessary words.
Filler words like “really,” “very,” and “just” often weaken your sentences.
Remove them in your sentences and strengthen your writing.
Here’s an example to show how eliminating wordiness strengthens your writing:
- Before: “The meeting was really important because it covered very critical issues that we just couldn’t ignore.”
- After: “The meeting was important because it covered critical issues we couldn’t ignore.”
Explanation:
In the revised version, removing “really,” “very,” and “just” makes the sentence more direct and effective without changing the meaning.
Sometimes, sentences include extra words that don’t add meaning.
Example: “Due to the fact that…”
- Original: “Due to the fact that the weather was bad, we stayed home.”
- Revised: “Because the weather was bad, we stayed home.” Or, “We stayed home because the weather was bad.”
Can you see how strong and straightforward the revised sentences are?
That’s how your sentences should be.
Step #4. Pay attention to grammar and style.
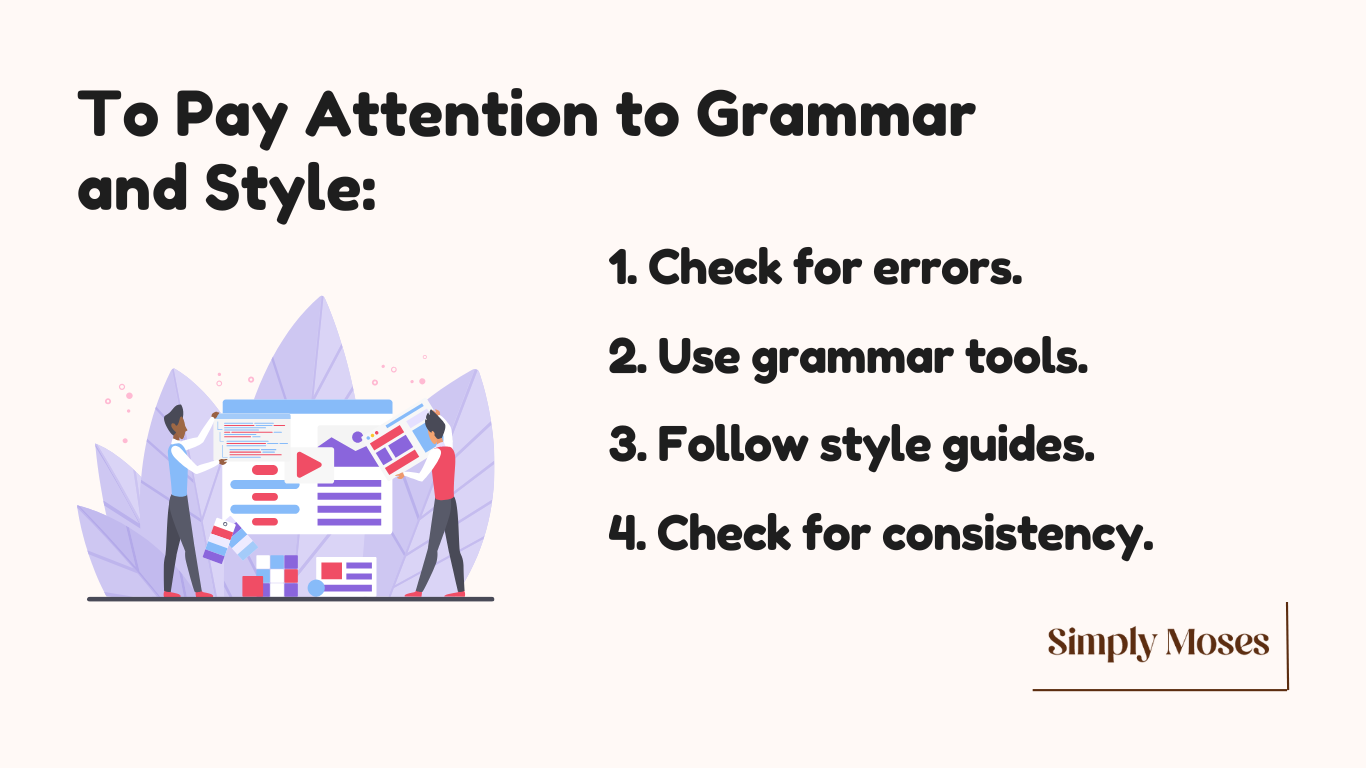
I. Check for errors.
Grammatical errors and typos can confuse your audience.
Look at this example:
“The manager told the CEO he needed a break.”
Although the sentence is simple and short, it’s difficult to understand.

Who needed a break — the manager or the CEO?
We can’t tell.
The problem is the pronoun reference.
Pronoun reference is using pronouns to replace nouns or noun phrases previously mentioned in a sentence or paragraph. This helps avoid unnecessary repetition of nouns and makes sentences easier to understand.
It’s unclear whether the pronoun, “he,” refers to the manager or the CEO.
Below are the revised versions:
If the manager needed the break, it should be:
— The manager told the CEO, “I need a break.”
If the CEO needed the break, it should be:
— The manager told the CEO, “You need a break.”
So, to ensure your message is clear, always check for errors in your writing.
II. Use grammar tools.

Tools like Grammarly or ProWritingAid can help you catch spelling, grammar, and punctuation mistakes.
Here are examples of how Grammarly can improve a sentence:
Example 1:
Original sentence: “Don’t take the labor of our heroes for granted.”

There’s a spelling error: “labor” (American English) should be “labour” (British English) because I use British English.
Revised sentence: “Don’t take the labour of our heroes for granted.”
Example 2:
Original sentence: “Writing is a skill you can improve overtime.”

There’s an incorrect use of a word: “overtime” should be “over time” since “overtime” refers to extra hours worked.
Revised sentence: “Writing is a skill you can improve over time.”
“Grammar tools help make your writing clearer and error-free.”
Example 3:
Original sentence: “The director reported that, the team did a great job.”

The issue is punctuation: The comma after “that” is unnecessary.
Edited sentence: “The director reported that the team did a great job.”
The 3 examples show how grammar tools help make your writing clearer and error-free.
III. Follow style guides.
If your organisation has a specific writing style, follow the guidelines.
The guidelines might include the use of
- Citations
- American vs. British English spellings and punctuation
- Formatting — Headings, subheadings, and lists.
Ensure you understand each item on the style guide. Ask questions where you don’t.
IV. Check for consistency.
Consistency makes your writing clearer, easier to read, and more professional.
Ensure the tone and facts are consistent throughout the content.
Here are some tips to ensure consistency in your writing:
Tone
- Determine the overall tone of your content. Is it conversational, formal, humorous, or something else?
- Check for sudden shifts in tone that may confuse or disengage your audience.
Facts
- Verify and double-check all facts, statistics, and information in your content.
- Ensure the sources are credible, current, relevant, and verifiable.
Applying the above tips helps you create cohesive and data-backed content.
Step #5. Improve readability.
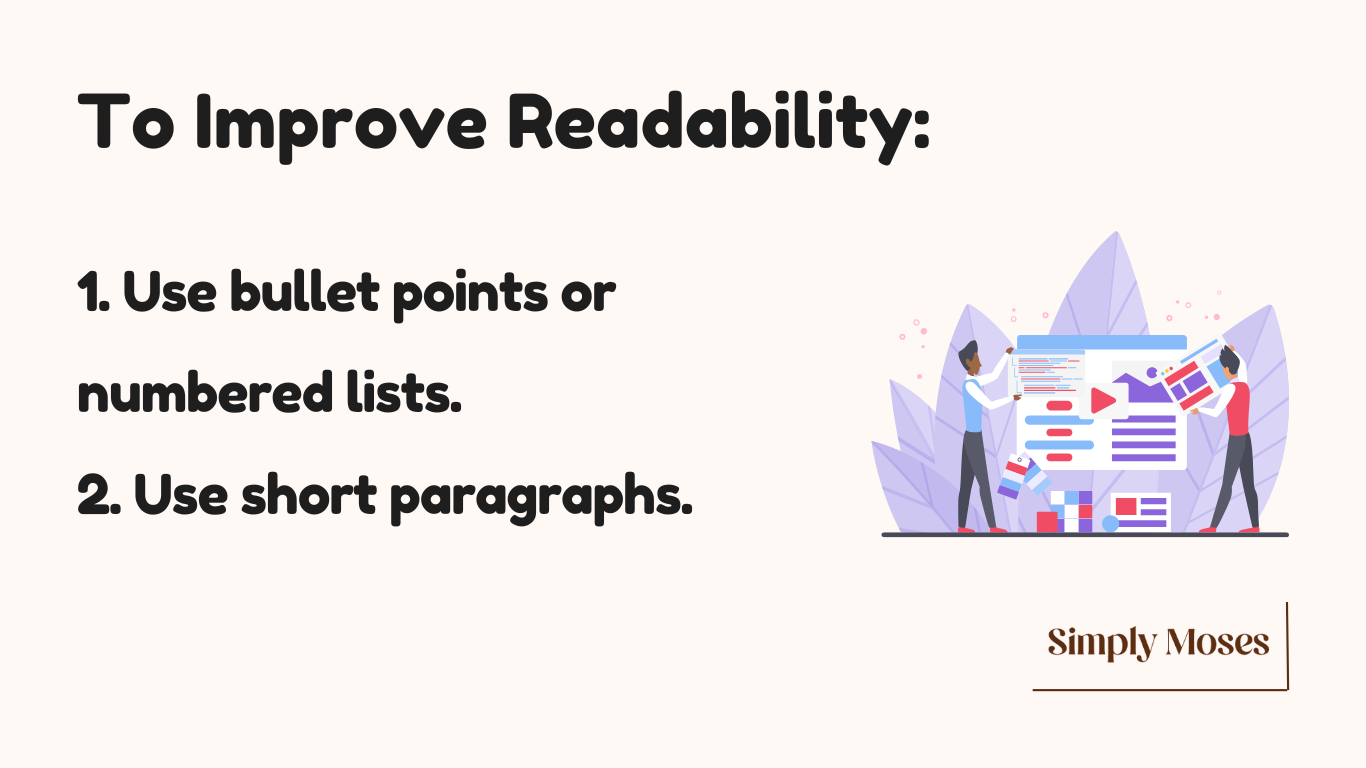
I. Use bullet points or numbered lists.
Using bullet points or numbered lists makes your content scannable.
Break up large chunks of text with bullet points or numbered lists. This makes your content scannable.
Example:
Without bullet points: A large chunk of text

Here’s the truth:
Looking at that wall of text is already exhausting. But it can be better, scannable, and more inviting to read.
Here’s how bullet points can do the magic.
With bullet points:

Aren’t the bullet points easier to read and understand?
II. Use short paragraphs.
With more people reading content on phones and tablets, short paragraphs display better on small screens and improve user experience.
So, to use short paragraphs,
- Break up long paragraphs into smaller chunks.
- Aim for 3-5 sentences or less that focus on a single idea.
- Then vary your paragraph length to create rhythm.
Using short paragraphs makes it easier for your audience to digest the content.
Step #6. Proofread thoroughly.
I. Read aloud.
Reading aloud helps you catch awkward phrases and errors you might miss when you read silently.
Read your sentences aloud to check if they flow smoothly.
This also makes it easier to spot awkward phrases and mistakes that you might miss if you didn’t read aloud.
If something sounds off or hard to follow, rephrase it.
II. Read backwards.
Reading backwards lets you concentrate on each word and quickly find errors and sentences that are hard to understand.
Start from the last sentence and work your way to the first.
This disrupts the flow, allowing you to focus on each word and easily spot mistakes and unclear sentences.
Step #7. Get feedback (if possible).
A second or third pair of eyes can point out mistakes you may have missed.
So, ask your trusted friends or fellow writers to help read and review your edited draft.
Content editing checklist
A checklist helps you ensure you’ve covered all areas of editing like
- Content
- Structure
- Clarity
- Grammar
- Formatting.
With a checklist, it’s easy to see your editing progress.
Here’s an editing checklist sample:
- Message is clear and consistent.
- Ideas flow logically.
- No irrelevant or redundant content.
- Active voice used where appropriate.
- Grammar, spellings, and punctuation are correct.
- Draft follows style guide.
- Content is readable (with bullet points and short paragraphs).
Once you’ve addressed major and minor issues, trust your instincts and finalise your article.
I would love to hear from you
I hope you enjoyed reading this article.
What do you think about it? And was it helpful?
Have any questions for me?
Let me know in the comments now.
Take the next step to start content writing NOW!
If you want personal mentorship, talk with me or send me your questions and concerns here:
- simplymoses25[at]gmail[dot]com (simplymoses25@gmail.com).
Be assured I’ll respond to you within 12 hours.